Barbari bread, a fluffy and subtly sweet Iranian flatbread, boasts a unique texture unlike any other. Its characteristically soft interior and slightly chewy crust are achieved through a process of high hydration dough and a special baking technique. This beloved bread, often enjoyed alongside stews, kebabs, and dips, is a staple in Iranian cuisine and a testament to the artistry of traditional baking. The slightly charred and blistered surface adds a delightful contrast to its airy crumb, making each bite a truly satisfying experience. The aroma alone, a fragrant blend of yeast and flour, is enough to entice even the most discerning palate.
This recipe unlocks the secrets to creating perfect Barbari bread at home, guiding you through each step with detailed instructions and helpful tips. Ready to experience the magic of homemade Barbari? Let's dive into the step-by-step process, ensuring your kitchen is filled with the irresistible scent of freshly baked bread.
Tools Needed
- tray
- non-stick paper
- bowl
- scales
- dough scraper
- temperature probe
Ingredients
Step-by-Step Instructions
Step 1. Hydration and Initial Mixing
- Mix most of the water and all the flour. Cover and let it hydrate for about an hour. This develops gluten.
- Flatten the dough, sprinkle salt evenly on top, and dimple it in with a wet hand. This helps it dissolve.
- Hydrate the yeast separately and add it to the dough, ensuring it's fully dissolved.
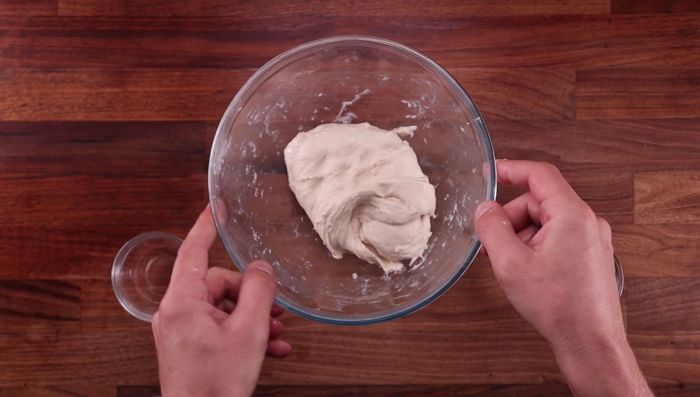
- Squeeze everything together until well combined. Then, on a table, knead using the stretch and fold method for 10 minutes, scraping down every 2 minutes.

Step 2. Bulk Fermentation and Folding
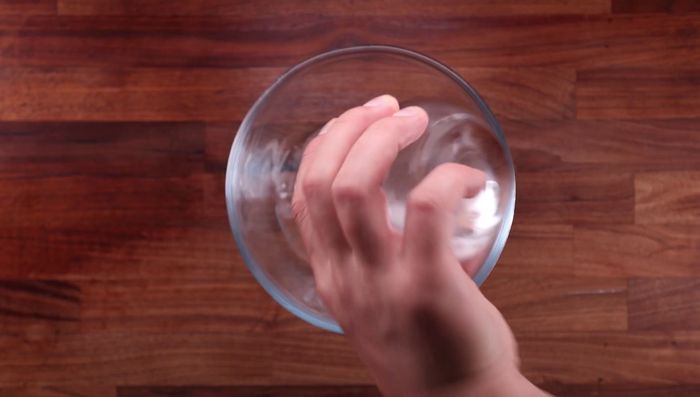
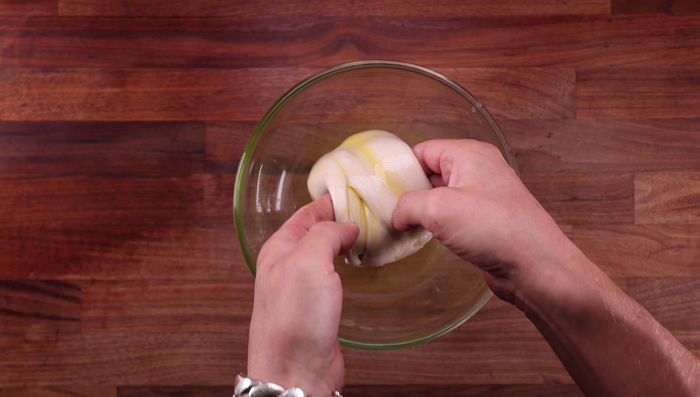
- Add all the oil to a bowl. Place the dough in, coat it with oil, and fold the oil into the dough by picking up the middle, stretching, and folding underneath.
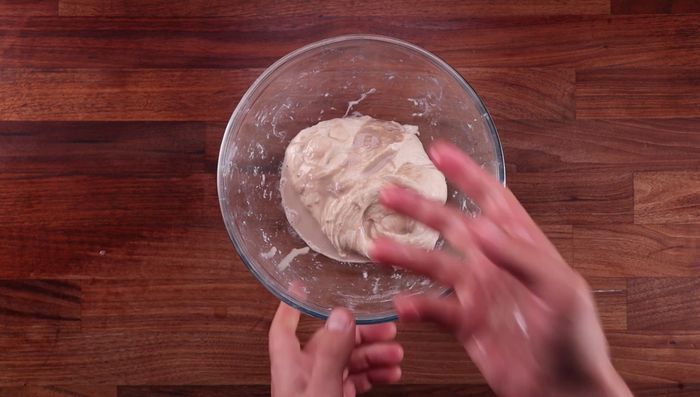
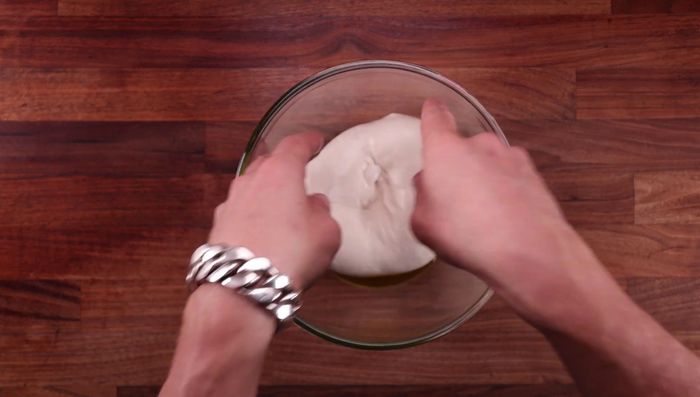
- Cover the dough and let it proof for 15 minutes. Then, perform five sets of folds, 15 minutes apart. Each fold involves lifting the dough by the middle, letting it hang down, and rolling it underneath itself. Gently push the sides down into the middle after each fold.
Step 3. Shaping and Final Proof
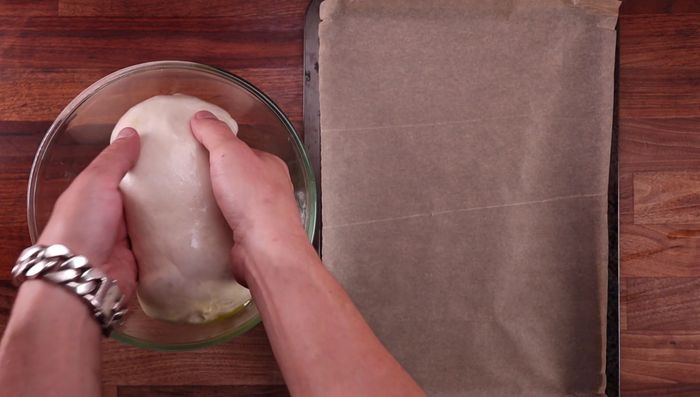
- Place the dough on a tray with non-stick paper, smooth side up. Pour any leftover oil on top. Gently stretch the dough out by dimpling with your fingertips. Let it ferment for another hour.
Step 4. Baking
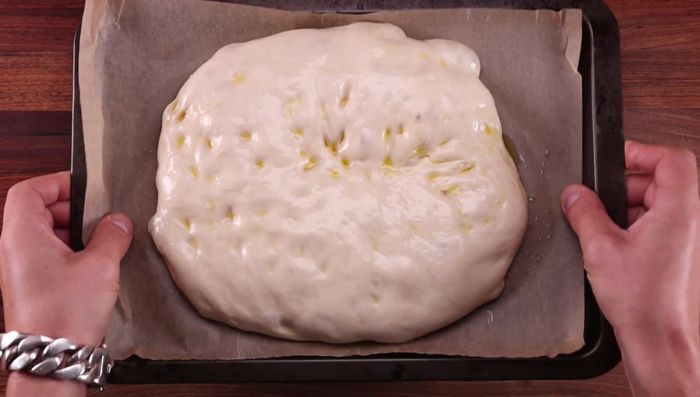
- Preheat oven to 210°C (410°F) with the fan off. Add more oil to the dough and stretch it out evenly. Create lines by pressing fingertips firmly into the dough. Sprinkle with desired seeds and toppings.
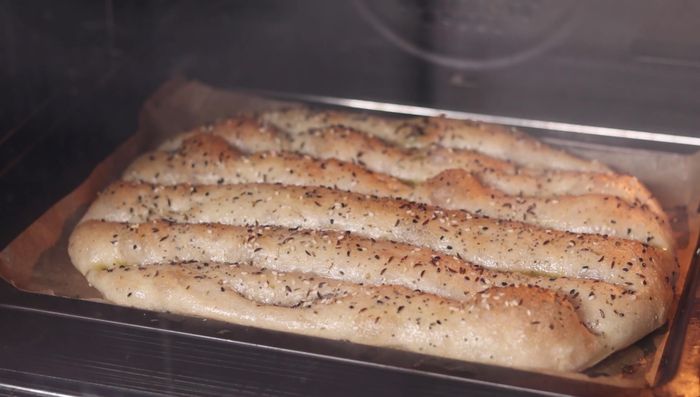
- Bake for about 25 minutes, or until golden brown and crusty.
Read more: Emirati Chebab Pancakes: Authentic Arabic Breakfast Recipe
Tips
- For a lower-fat version, reduce the amount of oil in both the dough and as a topping.
- When stretching the dough before baking, pull from the middle outwards for even thickness.
- Press firmly into the dough to create lines that won’t puff out during baking.
- Sprinkle toppings from a height for even distribution.
- Eat the bread fresh from the oven for the best taste and texture.
Nutrition
- N/A
FAQs
1. What does 'high hydration' mean in this recipe?
High hydration refers to using a higher ratio of water to flour than in many other bread recipes. This results in a softer, more tender crumb.
2. Can I use all-purpose flour instead of bread flour?
While you can, bread flour’s higher protein content gives better structure and chew. All-purpose flour will result in a slightly less chewy loaf.
3. How do I achieve that characteristically blistered top?
The blisters are created by applying a mixture of baking soda and water to the dough before baking. This creates steam that puffs the surface during baking.
With a little patience and practice, baking your own fluffy Barbari bread becomes a rewarding experience. The aroma of freshly baked bread and the satisfying chewiness of the crust will undoubtedly impress your family and friends. Enjoy the delicious results of your efforts, and savor the authentic taste of this Iranian culinary treasure!